Why birds take their collars off (and what that actually means)
If you’re here because your bird keeps taking the collar off, you’re not alone — and you’re not doing anything “wrong.”
In real life, birds remove collars for two very predictable reasons:
-
The collar feels unfamiliar. It looks strange, feels strange, and interrupts normal movement.
-
The collar blocks a plucking habit. When a bird is focused on plucking, anything that interferes becomes a problem to solve.
What this is not: defiance, stubbornness, or failure.
What it is: feedback.
Birds are intelligent, persistent problem-solvers. When a collar comes off, it usually means the fit, bulk, closure, or setup is giving your bird leverage — and they’re doing exactly what parrots do best: figuring it out.
The good news? Most collar escapes are mechanical issues, not behavioral ones — and they’re very fixable.
Before adjusting anything, it helps to understand how our bird collars are designed.
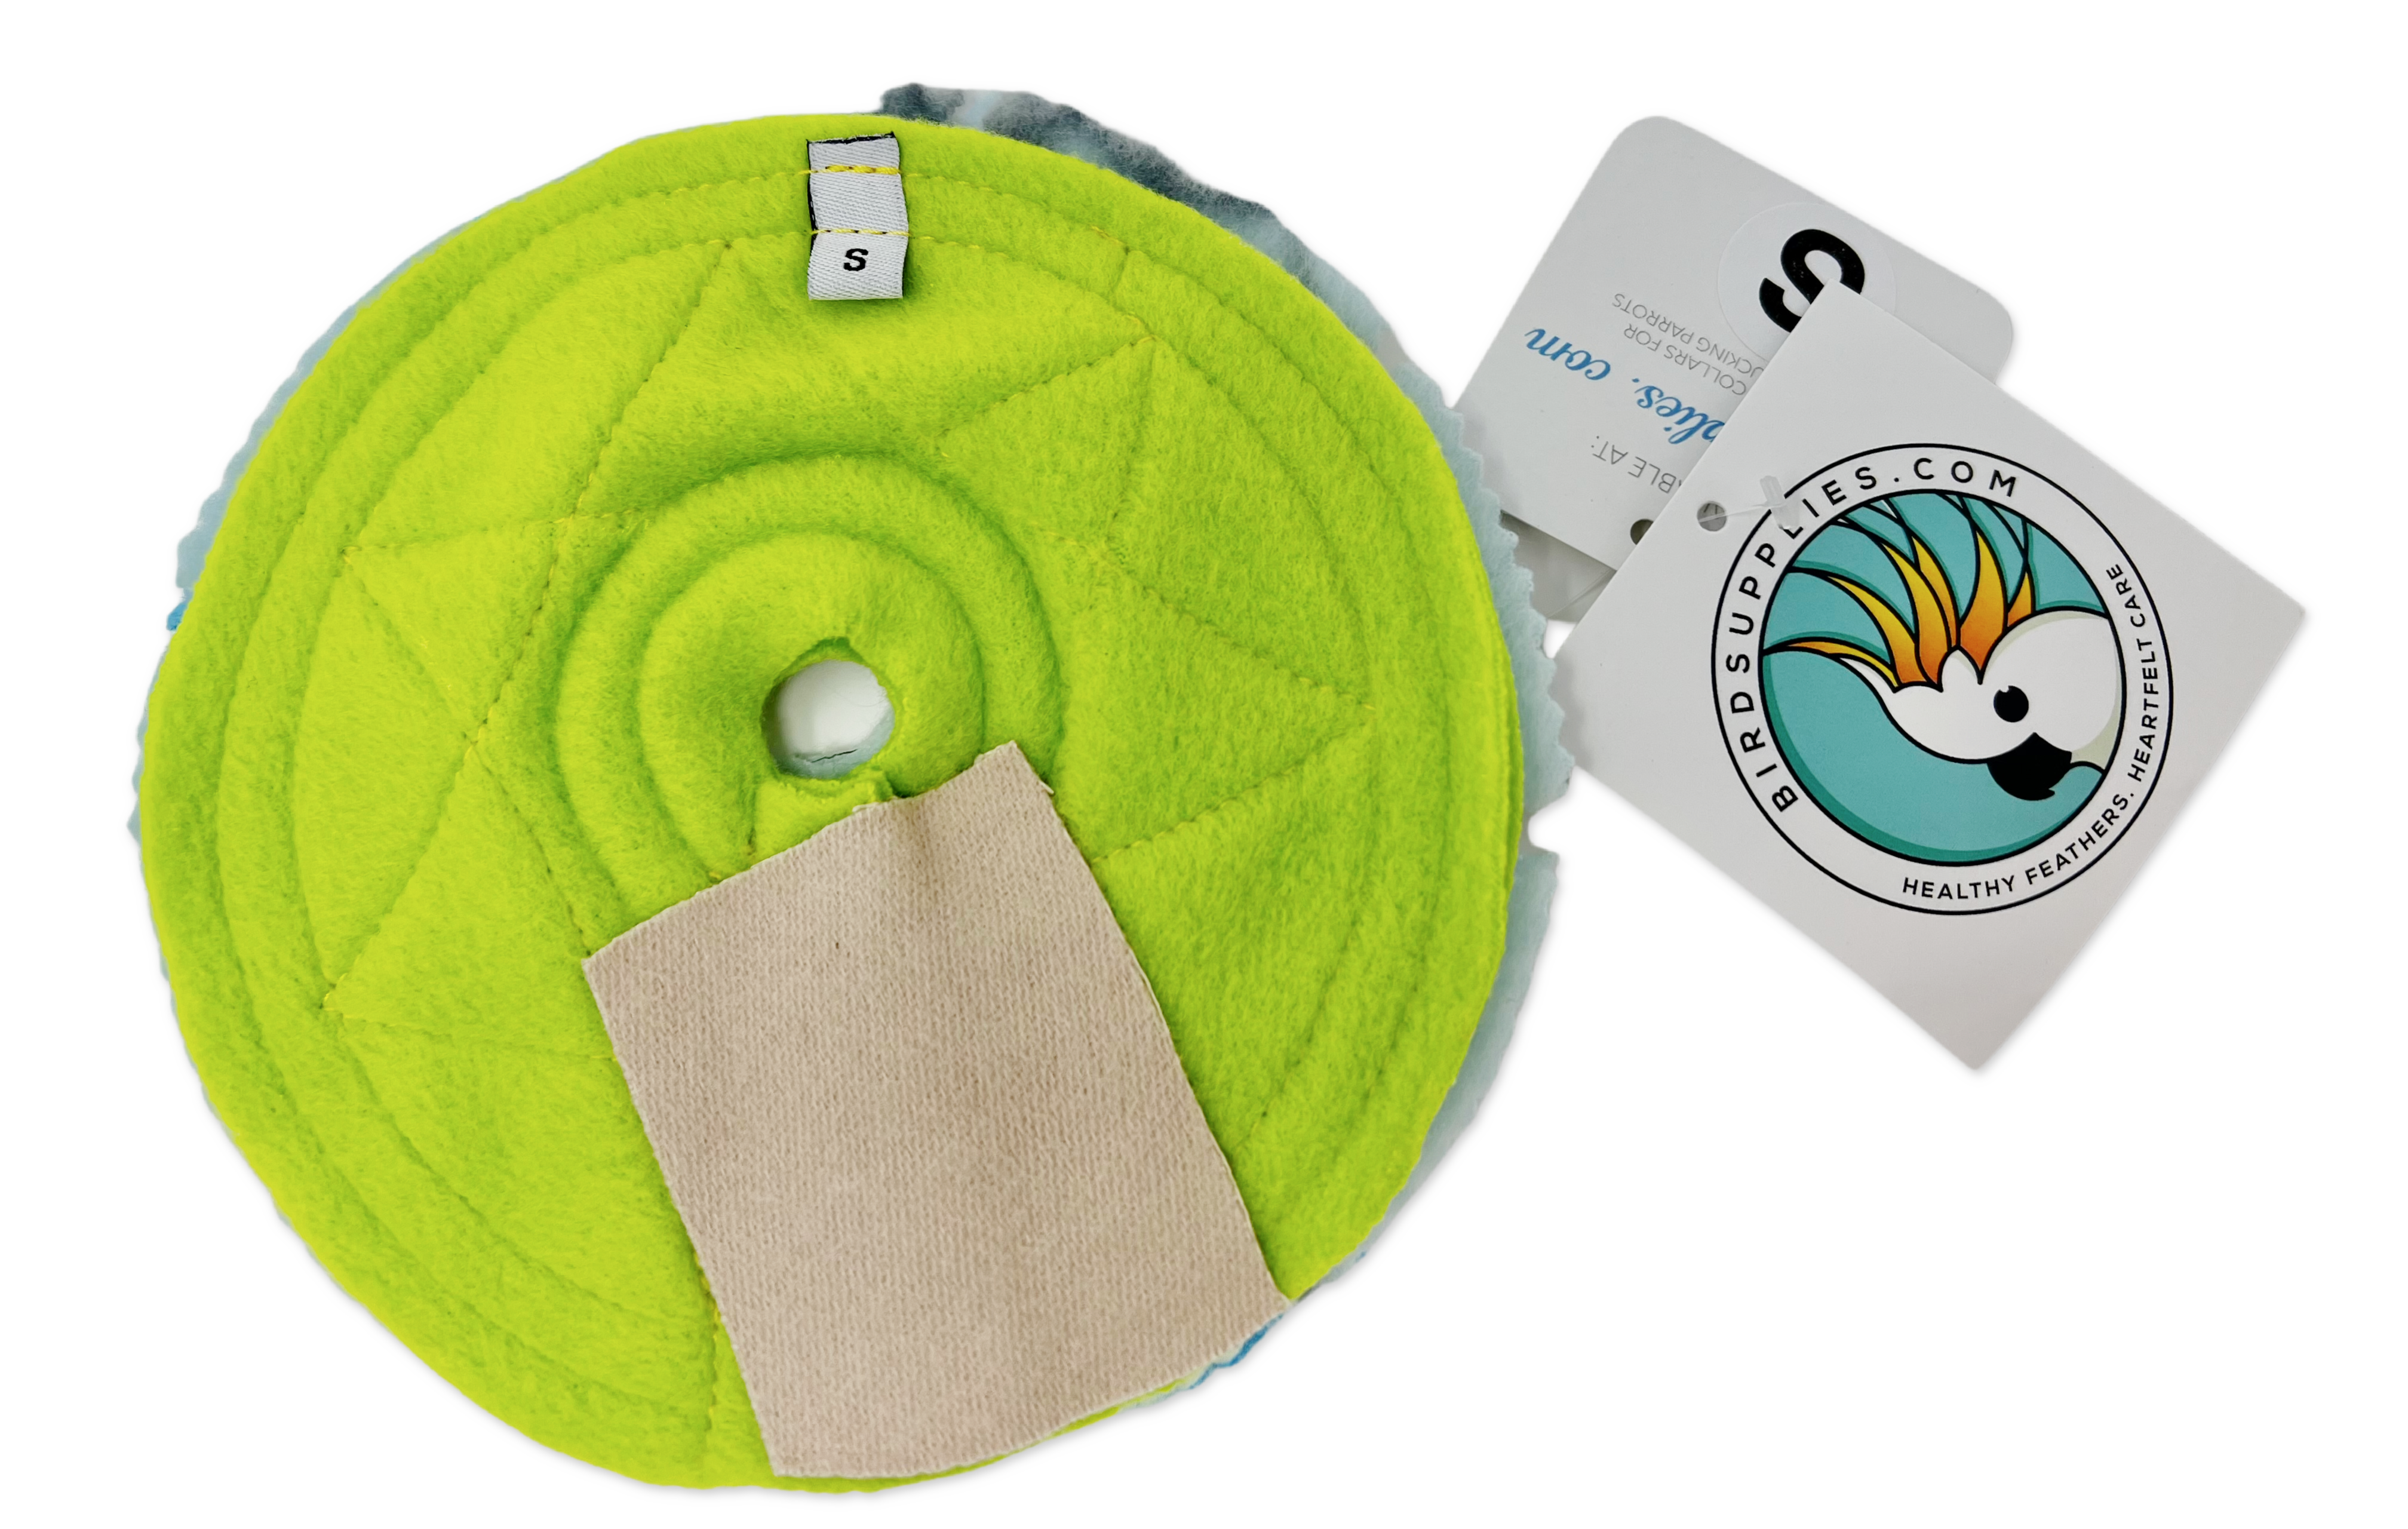
Each collar has:
- Two stitched seams around the neck opening
- Two stitched seams around the outer edge (the perimeter)

Those seams are intentional.
They allow you to customize the fit instead of forcing a rigid, one-size-fits-all cone onto a very non-one-size-fits-all bird.
Start by putting the collar on your bird and closing the Velcro normally.
At this stage, you’re only testing fit — both the neck opening and the perimeter.
Do not add moleskin or trim anything yet.
Step 1: Check the neck opening first
This is where most “my bird keeps getting the collar off” issues begin.
The collar should never feel tight around the neck.
Your bird’s crop expands when they eat, and a collar that seems fine at first can quickly become uncomfortable.
Simple fit rule:
👉 You should be able to slide your pinky finger between the closed collar and your bird’s neck.
If you can’t do that, the neck opening is too tight.
If the neck opening feels tight:
- Remove the collar.
- Cut 2 or more small V-shaped notches between the two stitched seams around the neck opening.
- These relief cuts allow the collar to flex without pressing on the neck.

Put the collar back on and re-seal the Velcro.
Check the fit again.
If needed, cut one additional small V notch.
Go slowly. Tiny cuts make a big difference.
Important: Always adjust the neck opening first. Hold off on trimming the perimeter until your bird has worn the collar for a bit.
Once initial panic settles, you’ll have a clearer idea whether the outer edge truly needs trimming — or if your bird was simply in early “get this thing off me” mode.
Step 2: Block the most common escape route
With the collar on your bird, gently lift the cone so you can see the underside where the two Velcro edges meet.
This seam is the first place most birds target when owners say, “He gets it off in five minutes.”

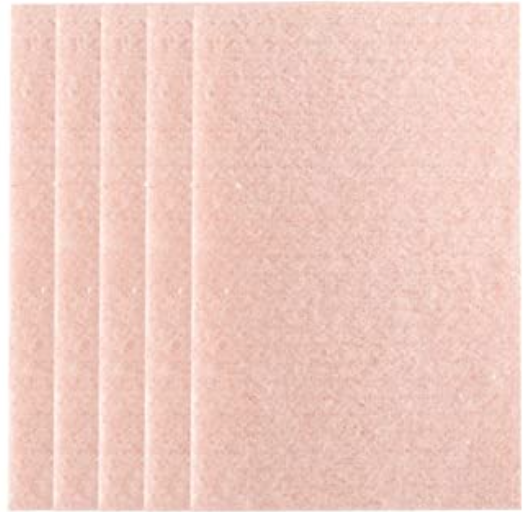
Apply a small patch of moleskin directly over that seam.
You’re not adding bulk — you’re removing leverage.
If your bird is especially determined — the “nothing stays on this bird” type — add a second moleskin patch on the top side as well.
That extra layer is often the difference between “off in five minutes” and “still on tomorrow.”